2d Animation - Smearing
2d Animation - Smearing
What is smearing? Smearing is a multitude of techniques used in animation to bridge two or more frames to create the illusion of motion through methods like blurring, warping, distortion, and a few others.
I wanted to start of with a fresh animation to demonstrate some movements.

It looks like it can definitely use some extra information to convey the motion of the sword. This is where we starting thinking about how to smear the object(s).
The most common approach that I’ve noticed that animators take, especially newer animators, is that they warp the whole object. As in they have a point A, and a point B, and then they just have a “mass” of implied motion in between those points.

Here’s a still shot

It works quite well with objects like swords. So here’s what my attempt looked like.

It definitely helped explain the movements more, but I’m not sure I liked it.
Thankfully there are other “types” of smears that we can look at to try to see if they fit in this particular animation.
The next one I wanted to try was “speedlining.” This is basically when you distort the edges or add speedlines to the edges to make the object appear in motion.
Here’s an example

and the still shot:

notices how the edges appear more sketchy. This one is really common and it can be executed in different ways.
Here’s my attempt

I really like this type of smearing, even though it still lacks some of the motion that the first iteration lacked. The speedlines really add character to the motion that would otherwise be missing in a normal warp, but I still needed that smear to bring it to the point where it needed to be.
So here’s what some call “doubling.” (and just as a side comment, I don’t think any of these have “official names” other than just smearing)

Here’s the still shot

This was a really well executed smear which I don’t think would have worked the same if you would have just warped the faces.
Here’s another slightly different execution

with the still shot

It’s like a distortion mixed with doubling, and that’s what I like about smears.. you can mix and match things you feel would work in the particular scene.
So here’s my mix n’ match smear.

Not the best execution, but for our purposes I think it works well.
Motion blurring is really powerful as well. Film uses it all the time, as does 2d animation. Notice the force of the impact being pronounced with the added blur at the head.

Here’s the still shot

There are a few other smears I thought were interesting because it just speaks to the way our brain interprets these frames without even considering the logical implications of the individual frames.
Here’s one example

I don’t know if you caught that, but here is the still shot:

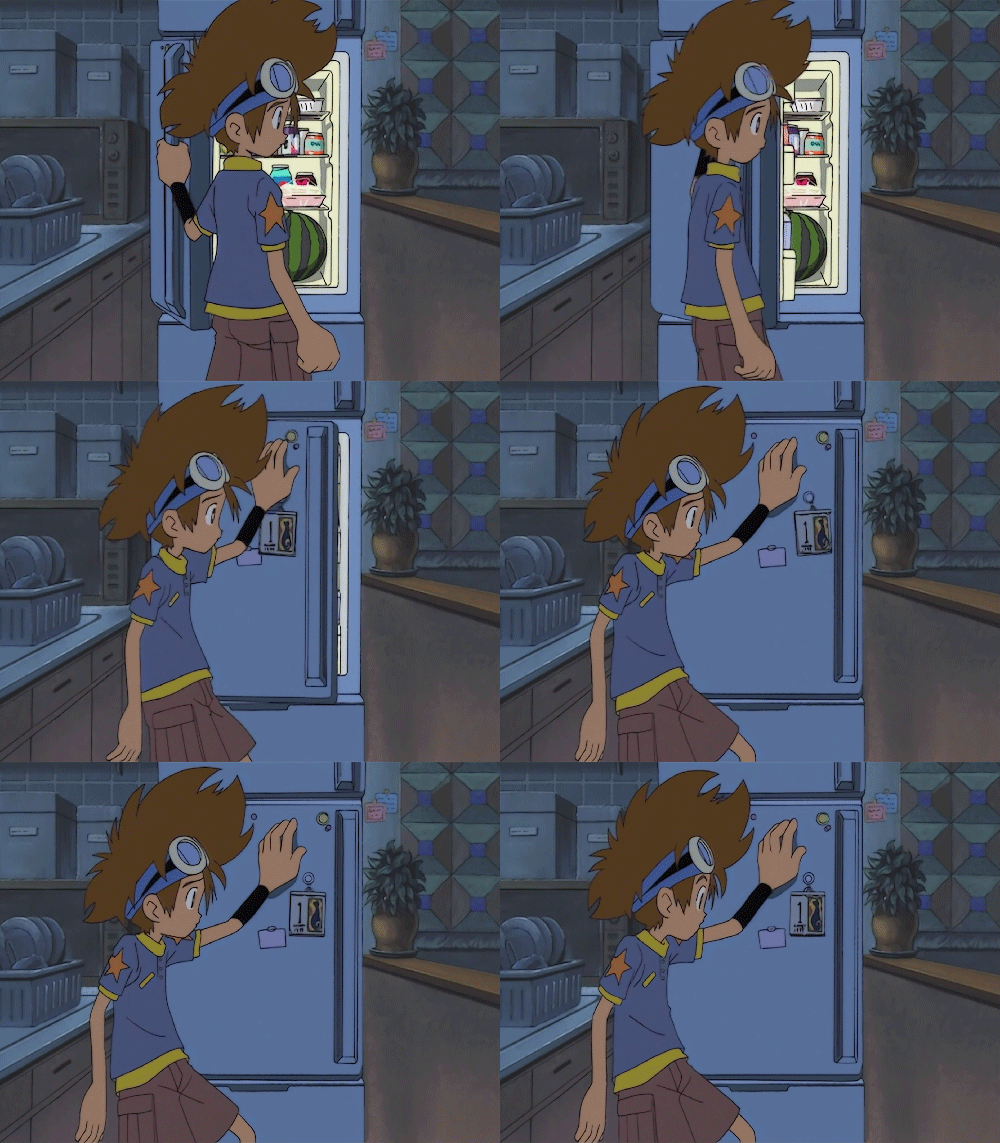
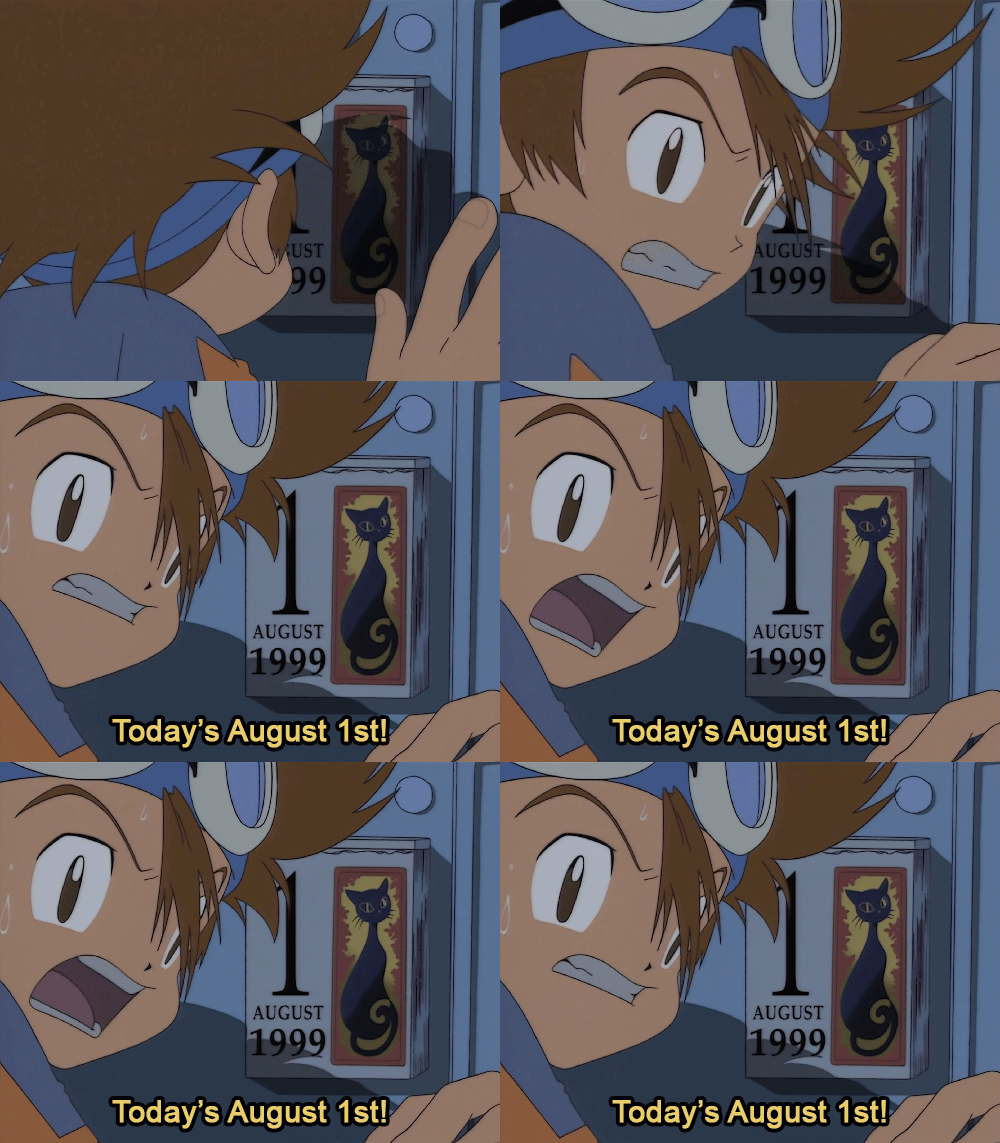
The guy has a knob for a hand. It works so well, you don’t stop to think about implication of that hand’s morphology.
Here’s another one that doesn’t make too much sense.

Like what is this

That’s Imaishi. It’s part of why we love that animator so much. It’s part of his style and character. It conveys an emotion that would otherwise be absent in a “realistic” smear. Animation doesn’t have to make sense. It just has to look good.
More Posts from Dubiasdead and Others


Do you like Mario RPGs? Paper Mario? Do you like stories about the power of friendship? If so, have I got something for you!
I made a huge set of color keys based off the game Super Mario RPG: Legend of the Seven Stars, a game that I’ve really loved since I was a teen. This is a super self indulgent project that is very much an interpretation from the heart, so I hope you enjoy it as much as I do!
Below is a link to where you can download (click the download icon in the top right corner of the google page!) and read it! Thank you!
https://drive.google.com/open?id=14gbceNpdkB380knvofHFhnfRqSlS8xUl
(If the PDF quality is fuzzy, just zoom out once, and back in again to make it load!)

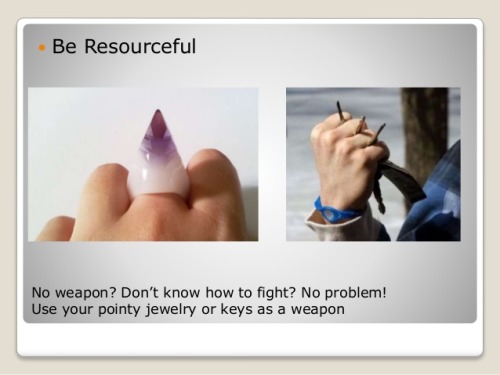
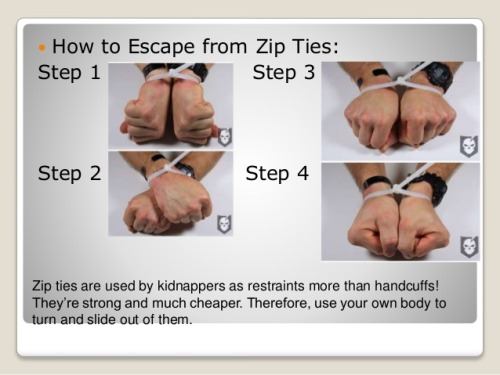

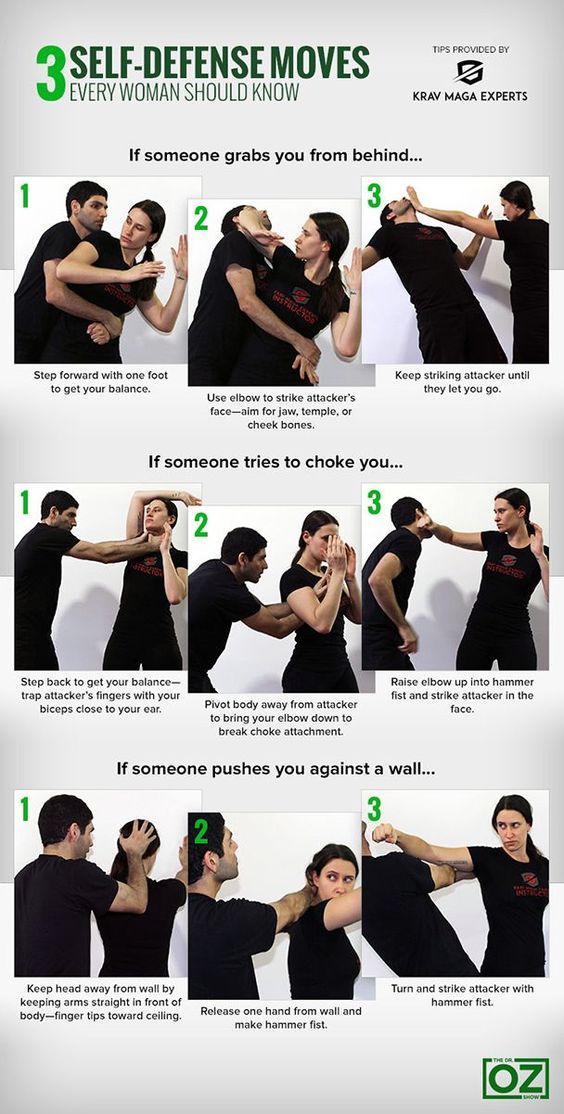

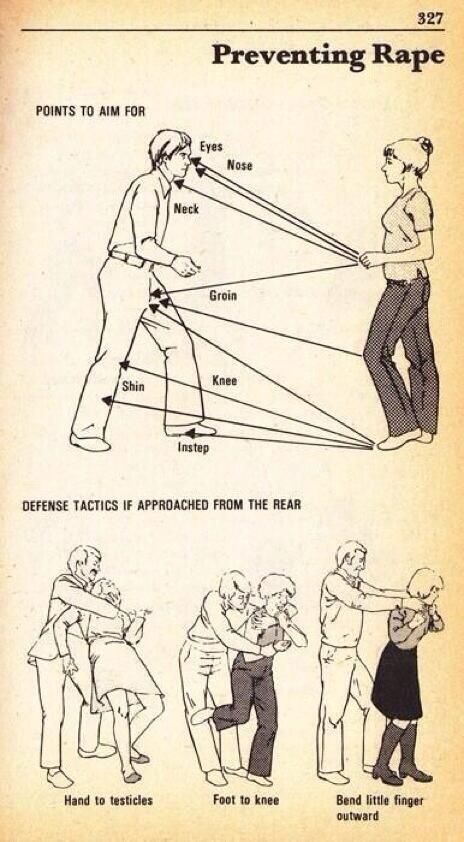

Step 1,2 3…. But, the best self defense is awareness.
The most popular feiyue shoes on: http://www.icnbuys.com/feiyue-shoes
follow back

*Hope your day is going swell~


He’s right ya know
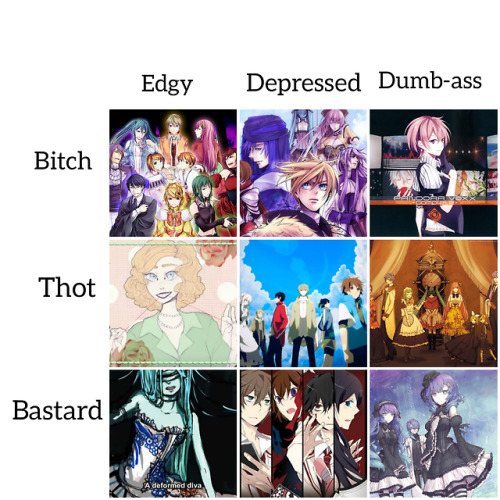
Alignment chart ft vocaloid series you were into in middle school/freshman year of high school


after that you can just merge everything or dont (i didnt merge it) and then you would get:

some stuff to mention:
ty for the compliment i appreciate it <33
sorry if my handwriting is hard to read xd
along the making of this tutorial thing i had no idea where this was going, so i just decided to do a tutorial on how i did certain details of water and shit
there were multiple different things i did for drawing water while i made the comic so it seemed more appropriate to just do a tutorial(?)/explanation on what i did and how i did it
some of this information may not be accurate since im not a pro at art or anything i just learn from what i see
some parts mostly consisted of trial and error since water is a pain in the ass (dont be afraid of that)
there are other people who could have given a better tutorial and process than me, and this is just what i know, so maybe this helped you and others in some way, who knows ¯\_(ツ)_/¯
(source)
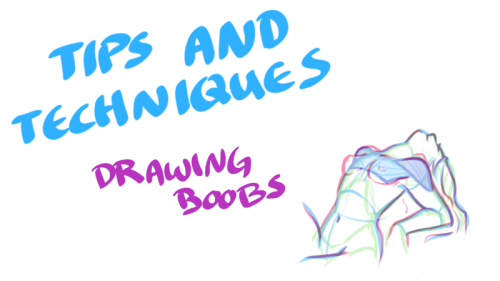
Just when you thought you knew everything about boobs… NSFW?


My darling friend Chizzi mentioned that there are a lot of booby tutorials out there are just predrawn boobs with the artist going HEY LOOK! HERE ARE SOME BOOBS! but not many that actually talk about the anatomical structure, and where to put the lines. I was like, “Hey, I can probably whip something up.“ And so I spent my thanksgiving making this.
Proportions probably aren’t exact, but I did my best. I also didn’t explore the various body types, but perhaps I could do a separate tutorial someday. I hope you find this tutorial useful :)
All photo references used in the tutorial were found on The Drawing Script. Credits to each photo belong to their respective owners.

reblog to bless a dashboard
-
 britishvoidcat liked this · 1 week ago
 -
 ammonium-water liked this · 2 months ago
 -
 strawberry-head-forever reblogged this · 2 months ago
 -
 helios-eoss liked this · 2 months ago
 -
 treerainer reblogged this · 2 months ago
 -
 doggamn-it reblogged this · 2 months ago
 -
 confidentialartist liked this · 2 months ago
 -
 galwayghost liked this · 2 months ago
 -
 galwayghost reblogged this · 2 months ago
 -
 potatoeofwisdom liked this · 2 months ago
 -
 nothing-suspicious-at-all reblogged this · 2 months ago
 -
 nothing-suspicious-at-all liked this · 2 months ago
 -
 caleneragami reblogged this · 2 months ago
 -
 cinamon98 reblogged this · 2 months ago
 -
 cinamon98 liked this · 2 months ago
 -
 decadentbatbagelscissors reblogged this · 2 months ago
 -
 decadentbatbagelscissors liked this · 2 months ago
 -
 spunsugarstormclouds liked this · 2 months ago
 -
 a-spoonful-of-scourge liked this · 2 months ago
 -
 newgraywolf reblogged this · 2 months ago
 -
 gotatoastonmyass liked this · 2 months ago
 -
 newgraywolf liked this · 2 months ago
 -
 whatnowhy reblogged this · 2 months ago
 -
 wandixx liked this · 2 months ago
 -
 p-t-f-s reblogged this · 2 months ago
 -
 capaillequus liked this · 2 months ago
 -
 meltedgallium liked this · 2 months ago
 -
 noir-renard reblogged this · 2 months ago
 -
 feels-fics-fandoms liked this · 2 months ago
 -
 glasscastleunderwater liked this · 3 months ago
 -
 artking-4 reblogged this · 4 months ago
 -
 andmybrittleheart liked this · 4 months ago
 -
 danikoshi liked this · 5 months ago
 -
 khaosssss liked this · 5 months ago
 -
 shelbswastaken liked this · 5 months ago
 -
 barbelo-babe liked this · 5 months ago
 -
 mendely reblogged this · 5 months ago
 -
 kasblue reblogged this · 5 months ago
 -
 kasblue liked this · 5 months ago
 -
 annita89q8i6jph liked this · 6 months ago
 -
 hyong311 liked this · 6 months ago
 -
 decodium liked this · 6 months ago
 -
 girlofspaghetti liked this · 7 months ago
 -
 empty-blog-for-lurking reblogged this · 7 months ago
 -
 sockdooe reblogged this · 7 months ago
 -
 sockdooe liked this · 7 months ago
 -
 artking-4 reblogged this · 7 months ago
 -
 doodlesofamadqueen liked this · 7 months ago